Showing posts with label holidays. Show all posts

Friday, February 1, 2019

Handmade valentines & learning Hebrew

I'm trying to learn Hebrew, and so for my valentines this year I decided to write "love" in Hebrew. It's pronounced "ahava" and spelled אהבה .

I made them out of repurposed thin cardboard from a coffee cup carrier (and some scrap card stock with drafts of illustrations on it), which I painted with watercolors, and then drew on with gel pens and markers.


Practicing drawing mouths

Tuesday, May 1, 2018

Handmade Mother's Day card

I made this card for my mom with gel pens on card stock.


Thursday, December 1, 2016

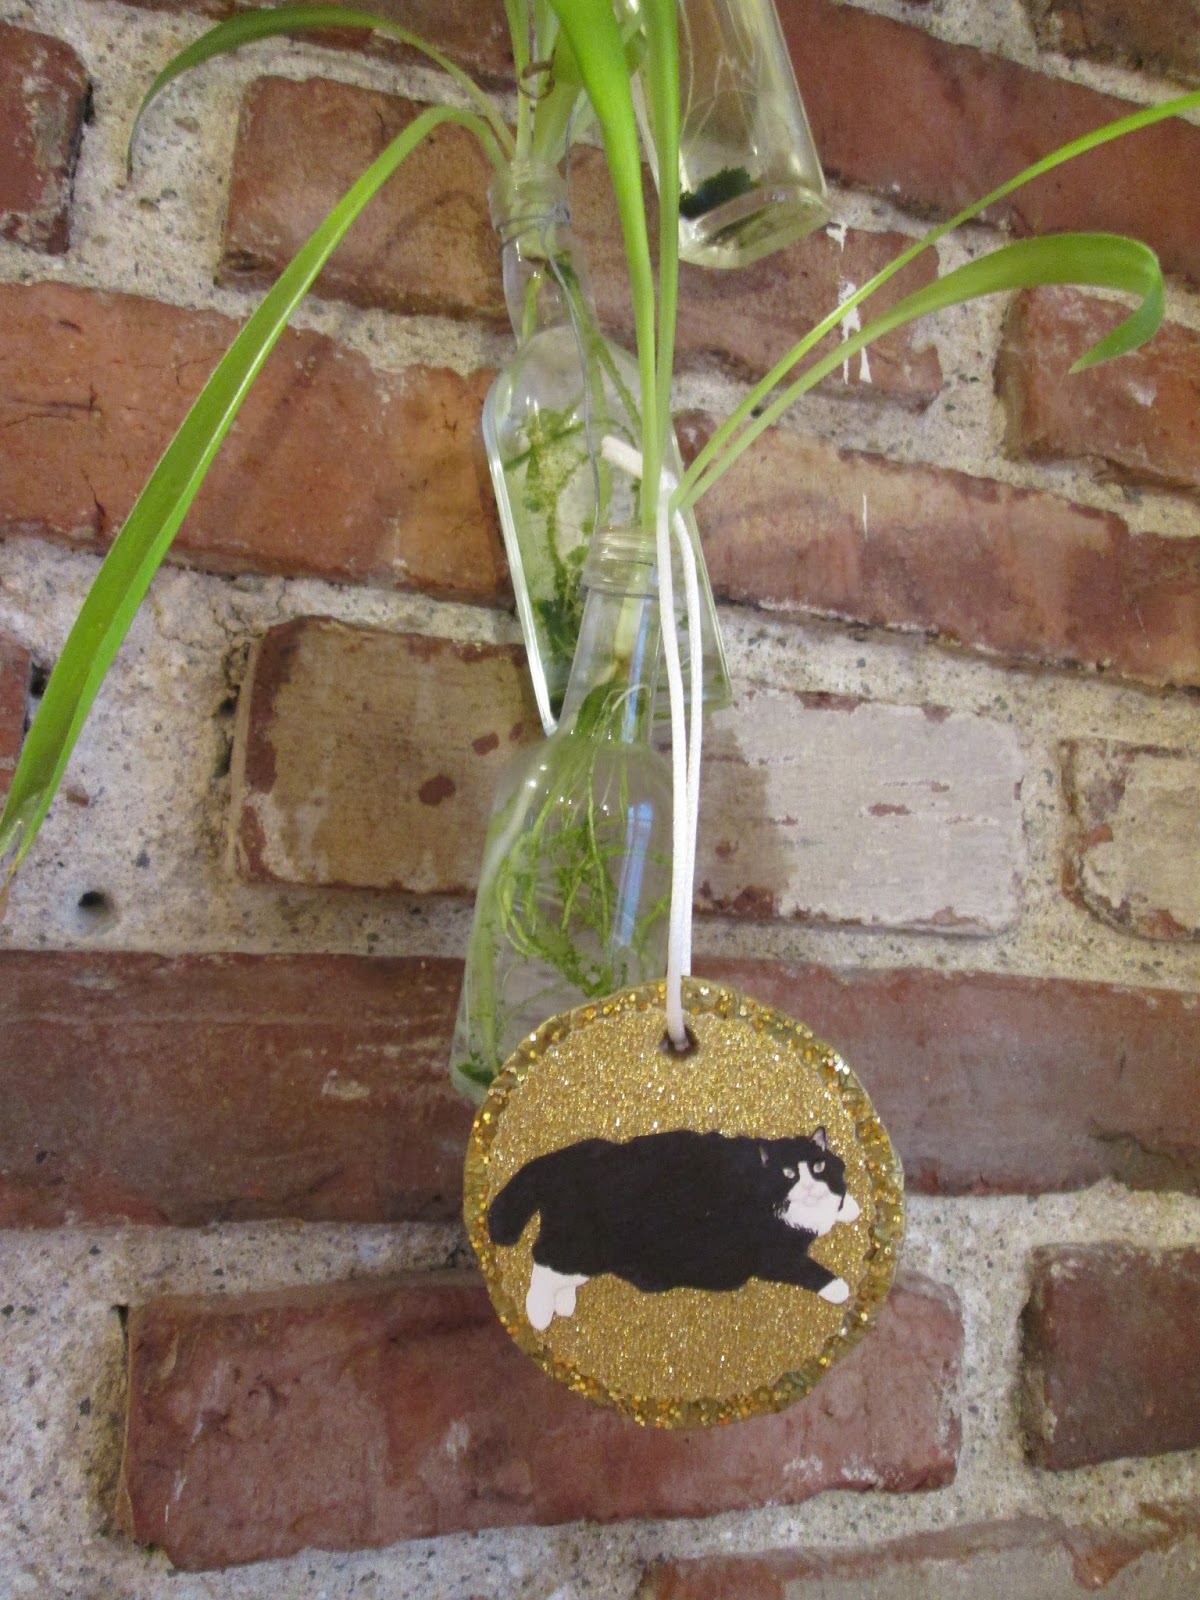
Illustrated Boom Boom the cat glitter holiday ornament

Happy December!

I made this Christmas tree ornament for my friend, with an illustration of her cat Boom Boom. I also used lots of glitter, because why not?

I drew Boom Boom on white card stock, then pasted him onto gold glitter paper which I cut into a circle using zigzag scissors. Then I cut a piece of cardboard into a slightly larger circle, wrapped gold tissue paper around it, which I secured with glue, and gathered the ends of the tissue paper on the front, to be covered by the glitter paper. I also added some extra glitter on top of the tissue paper to give it more sparkle. Then I used a hole punch to make a hold for the ribbon.


It's so cute in a little gift box!

Tuesday, November 15, 2016

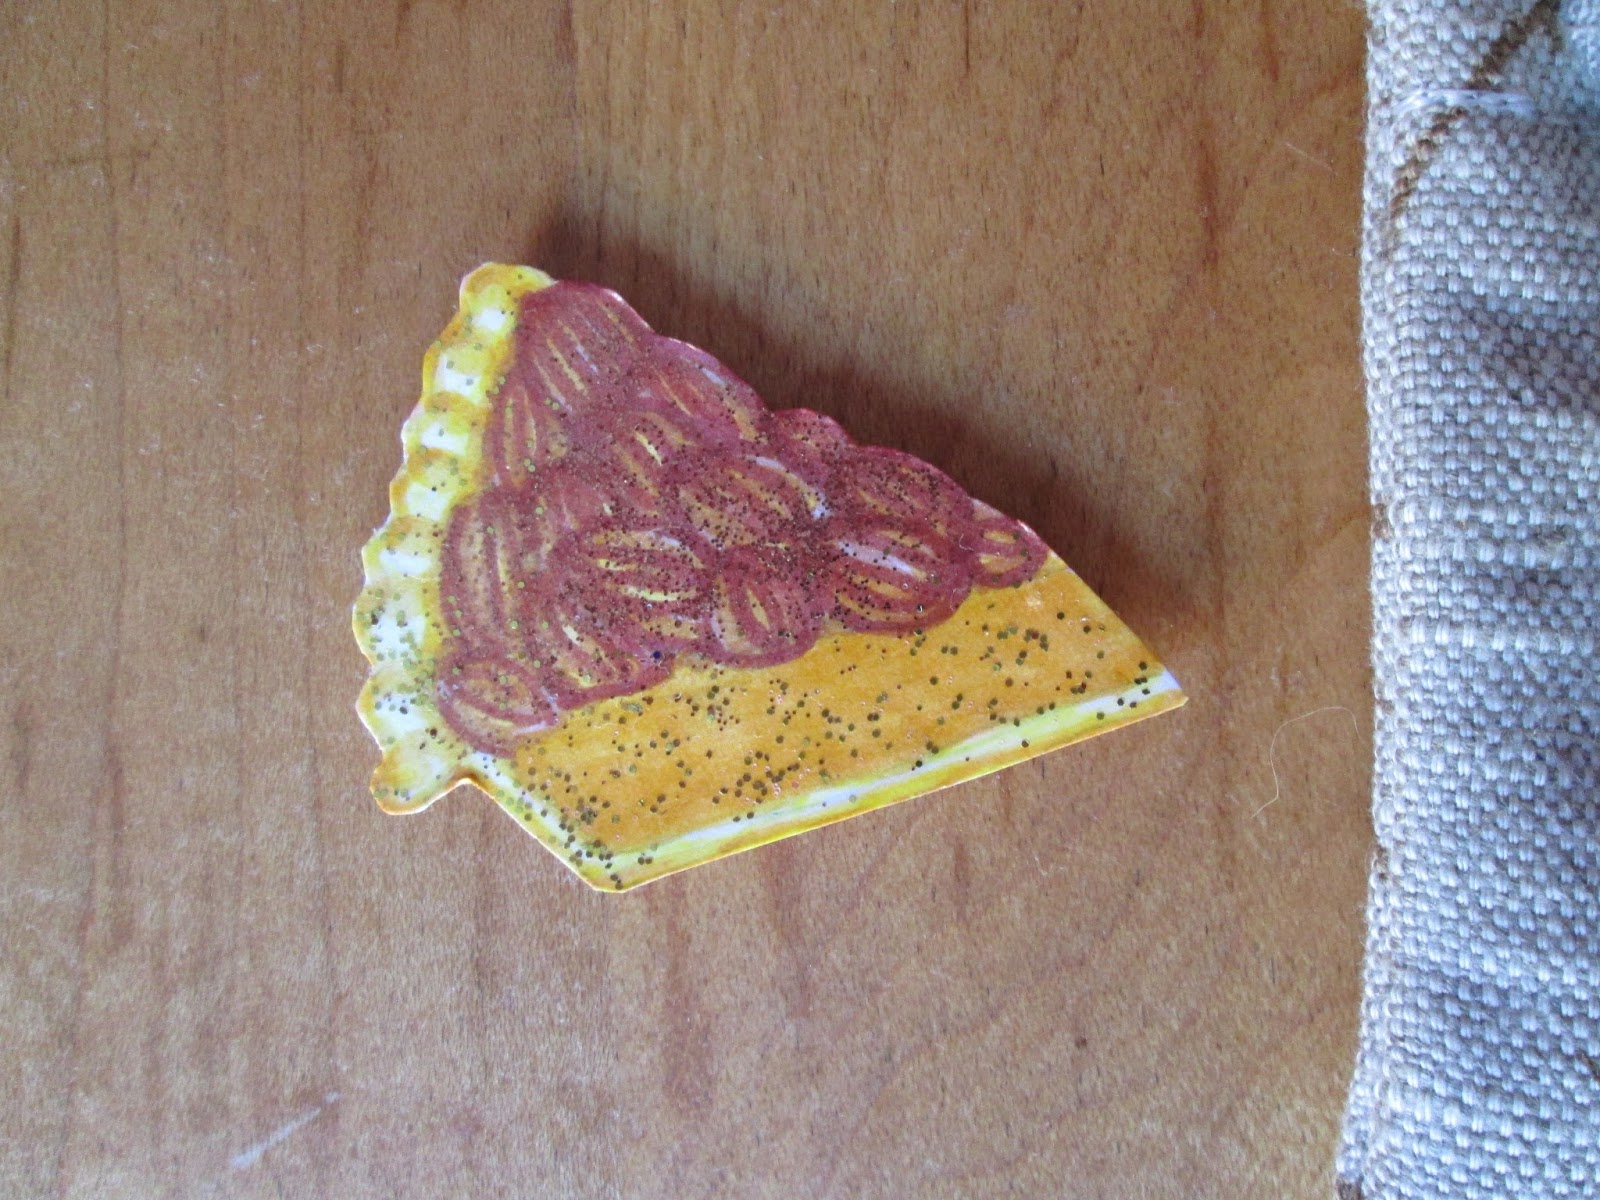
Illustrated pecan pie magnet and fabric bag

I made this glittery magnet for a loved one whose favorite pie is pecan.

I drew the pie on card stock using markers and colored pencils. Then I covered it in a coat of Mod Podge, added a little gold glitter, and stuck a magnet to the back of it (on top of another layer of card stock to keep it firm).


The back of the magnet

I made this little fabric bag to put the magnet in.


Tuesday, January 12, 2016

The beginnings of winter, curated


My roommates gave me homemade cookies for Christmas!
A glass ornament

Friday, January 1, 2016

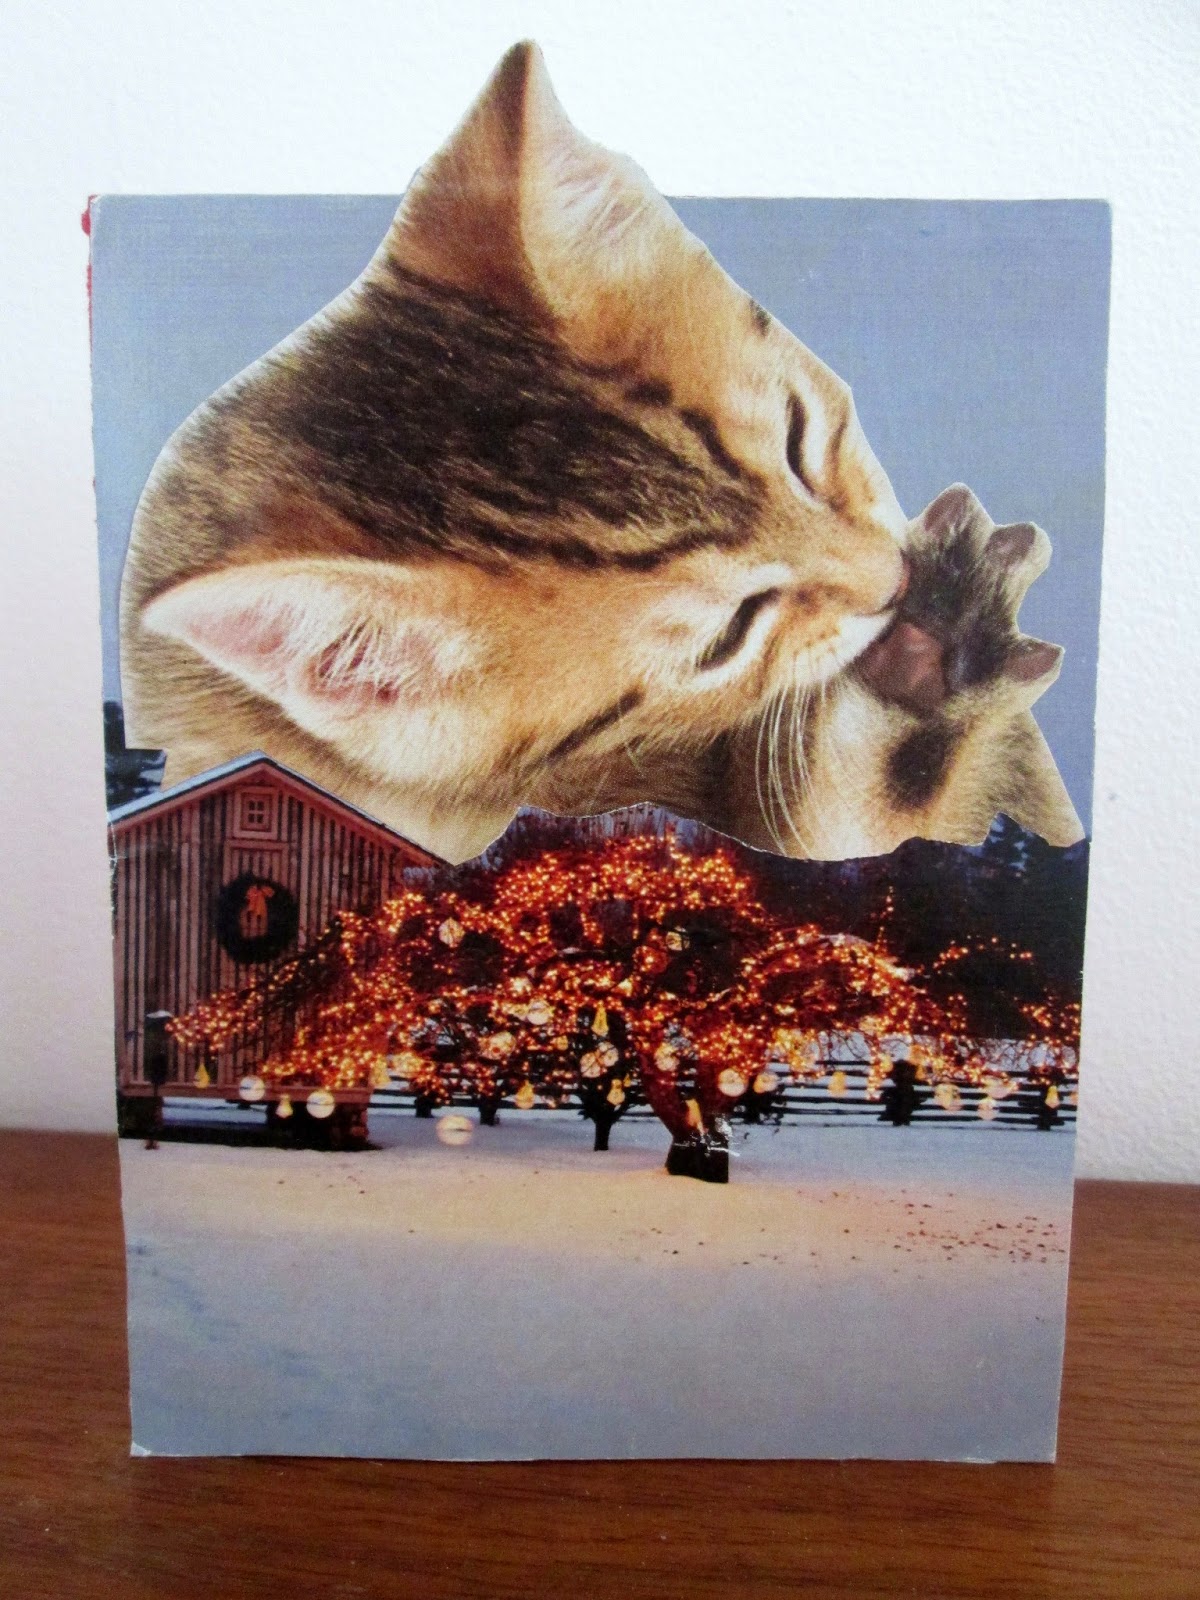
A New Years collage card

Today I made this card for my sister for New Years and Belated Christmas.


Happy New Year!

Thursday, December 24, 2015

Handmade holiday ornaments!

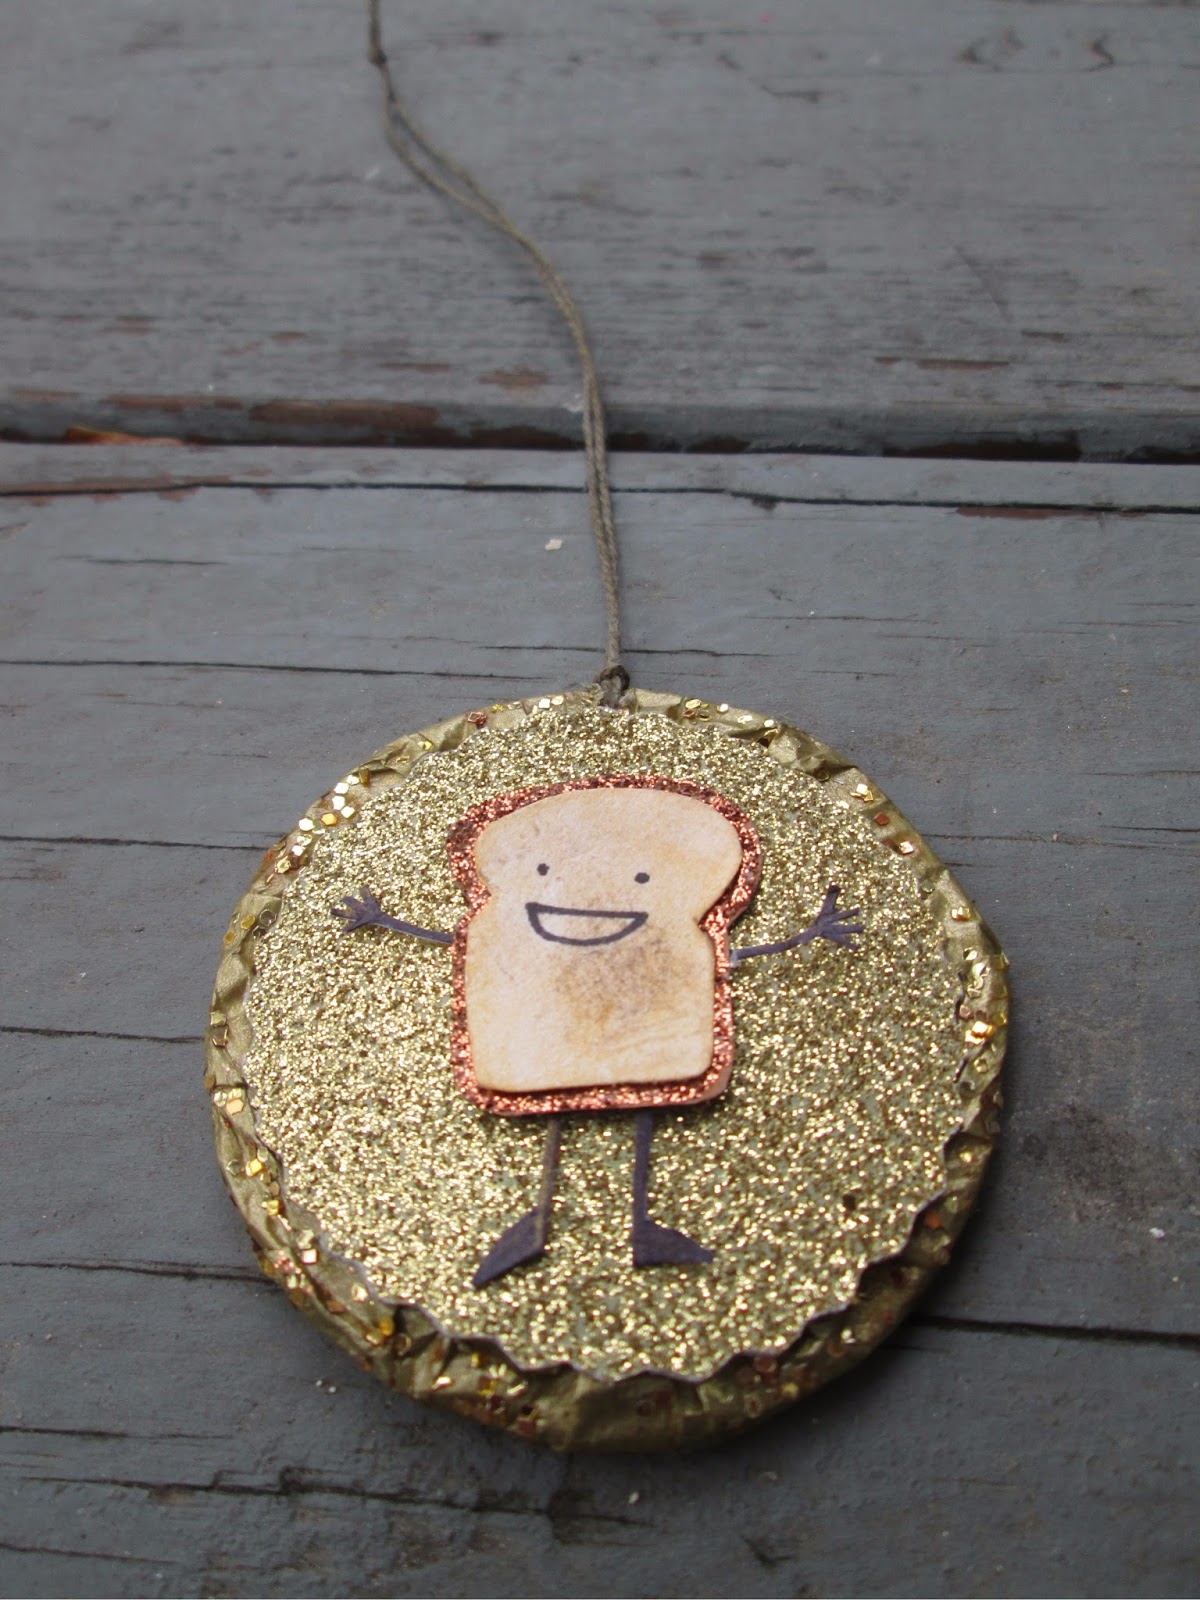
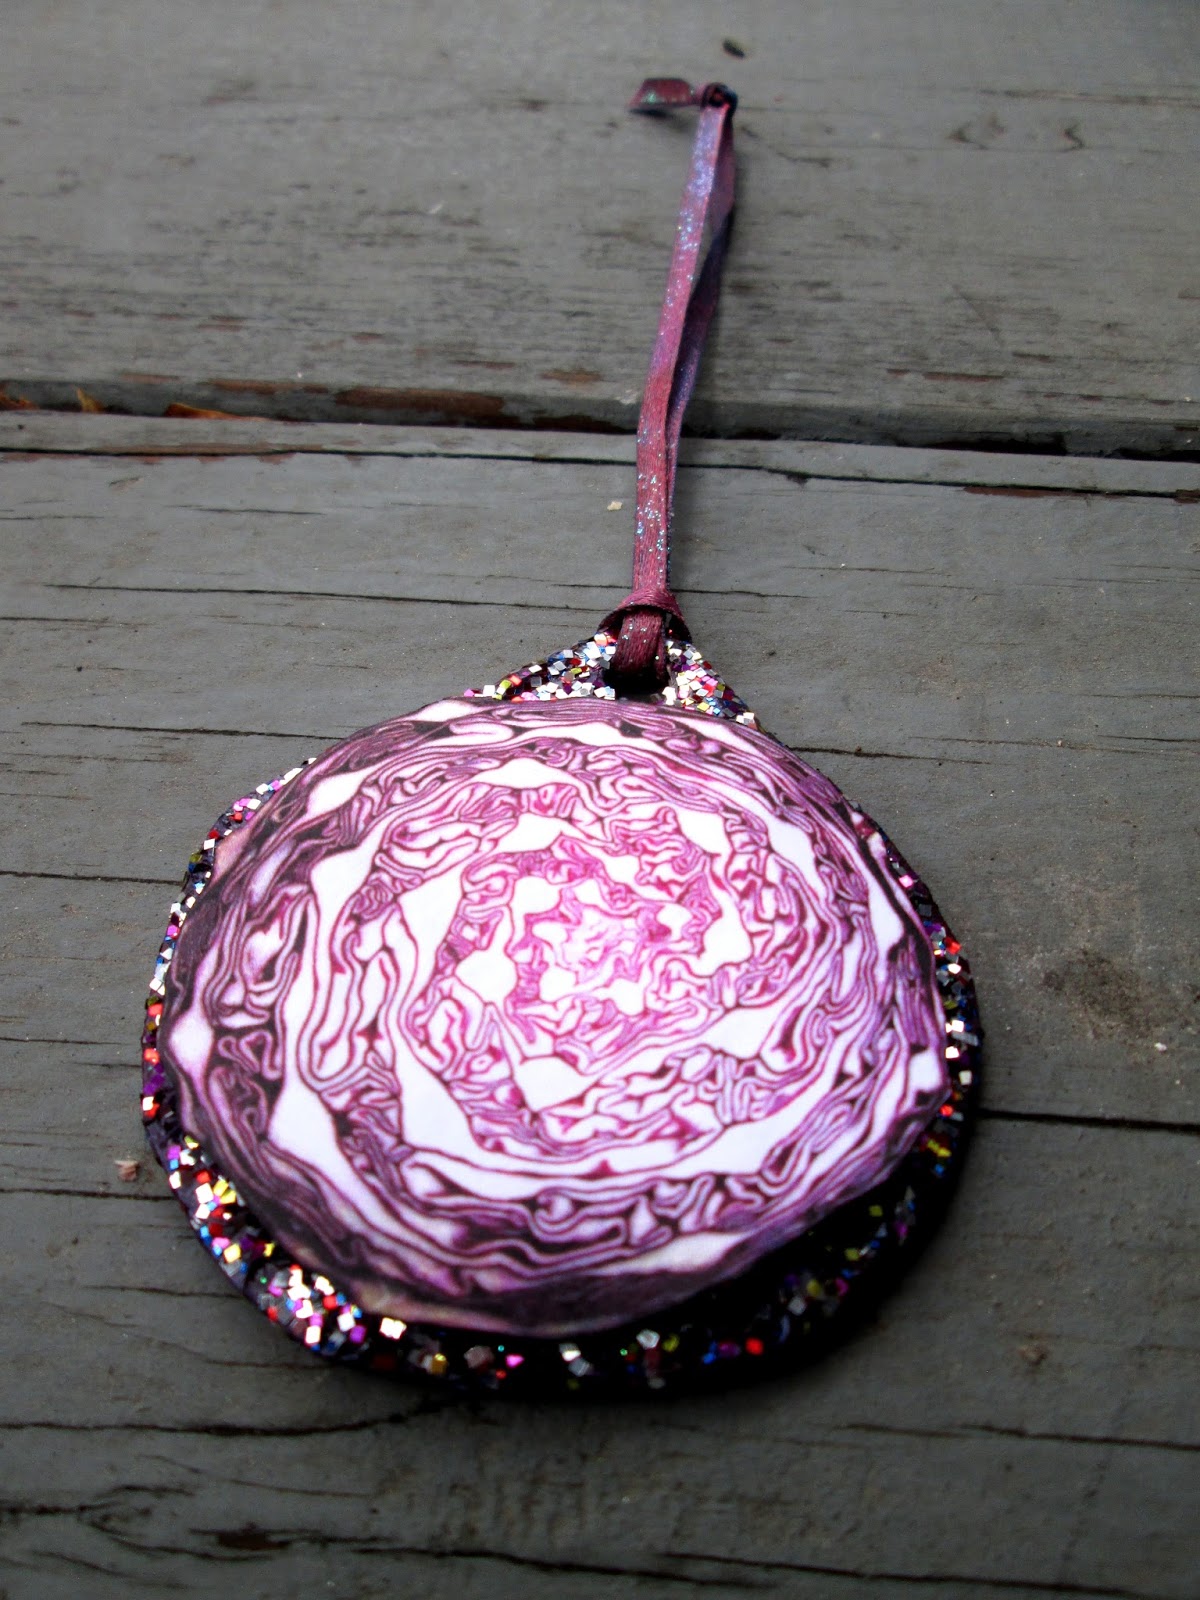
I made holiday ornaments for my roommates, one of whom eats toast at almost every meal, and the other of whom loves the way that the inside of cabbages look. :)


How I made these:


I started with a piece of cardboard, which I cut into a circle, and then covered it in tissue paper (gold tissue paper for the toast one, and white tissue paper that I colored purple with markers). Then I added glitter to the tissue paper using mod podge.

For the cabbage one, I printed out a picture of a cabbage and glued it to card stock (a recycled post card advertisement) so it wouldn't bend or wrinkle. Then I used mod podge to glue the cabbage to the ornament base. Then I took some light pink fabric ribbon and colored it purple using markers, and added some glitter using mod podge. Then I let everything dry, and looped the ribbon through a hole I made in the ornament using a hole punch.

For the toast one, I cut out a circle of gold glitter paper using one of those zig zag shaped scissors. Then I cut a piece of white card stock into the toast shape and drew a face on using a sharpie pen. Then I colored it tan by rubbing dirt from the garden on it, and added a little bit of very watery yellow watercolor paint to get the color I wanted. Then I traced it and cut a slightly bigger toast shape out of card stock, colored that brown with a marker, and added some bronze glitter to it using a glue pen. Then I drew the arms and legs on card stock using a sharpie pen, cut them out, and attached them to the back of the brown toast piece using both glue and tape so they are less likely to fall off. Then I glued all of the pieces together. Then I took a piece of thin white rope and colored it gold using a gold sharpie. Then after everything dried, I made a small hole in the ornament behind the glitter paper using scissors (since this ribbon was smaller than the other, I didn't want there to be a big gaping hole in the ornament), and looped the ribbon through.

Happy holidays!

Sunday, December 20, 2015

Collage Holiday Cards

(Low quality photo because I forgot to take more photos before sending them)

Sunday, November 16, 2014