Showing posts with label gift ideas. Show all posts

Sunday, June 3, 2018

Handmade cat potholders

I made these potholders as a gift for a partner's birthday.

After much deliberation over fabric options, I bought the jumping cats fabric at Gather Here in Somerville, MA and the other fabrics at Joann's Fabrics in Brockton, MA. I usually use secondhand fabrics (for environmental reasons), but this time I really wanted to make something inspired by his style, so I needed more options.

I took these photos after he had used them a few times, so they're a little dirty. Also, the stitching is imperfect, but he loved them, and I like them anyway.

They each have a little pocket to put your hand in.


Wednesday, May 16, 2018

Recent illustrations

Some mail art and illustrations I've made recently. The map is meant to be Union Square in Somerville, Massachusetts.


Thursday, December 1, 2016

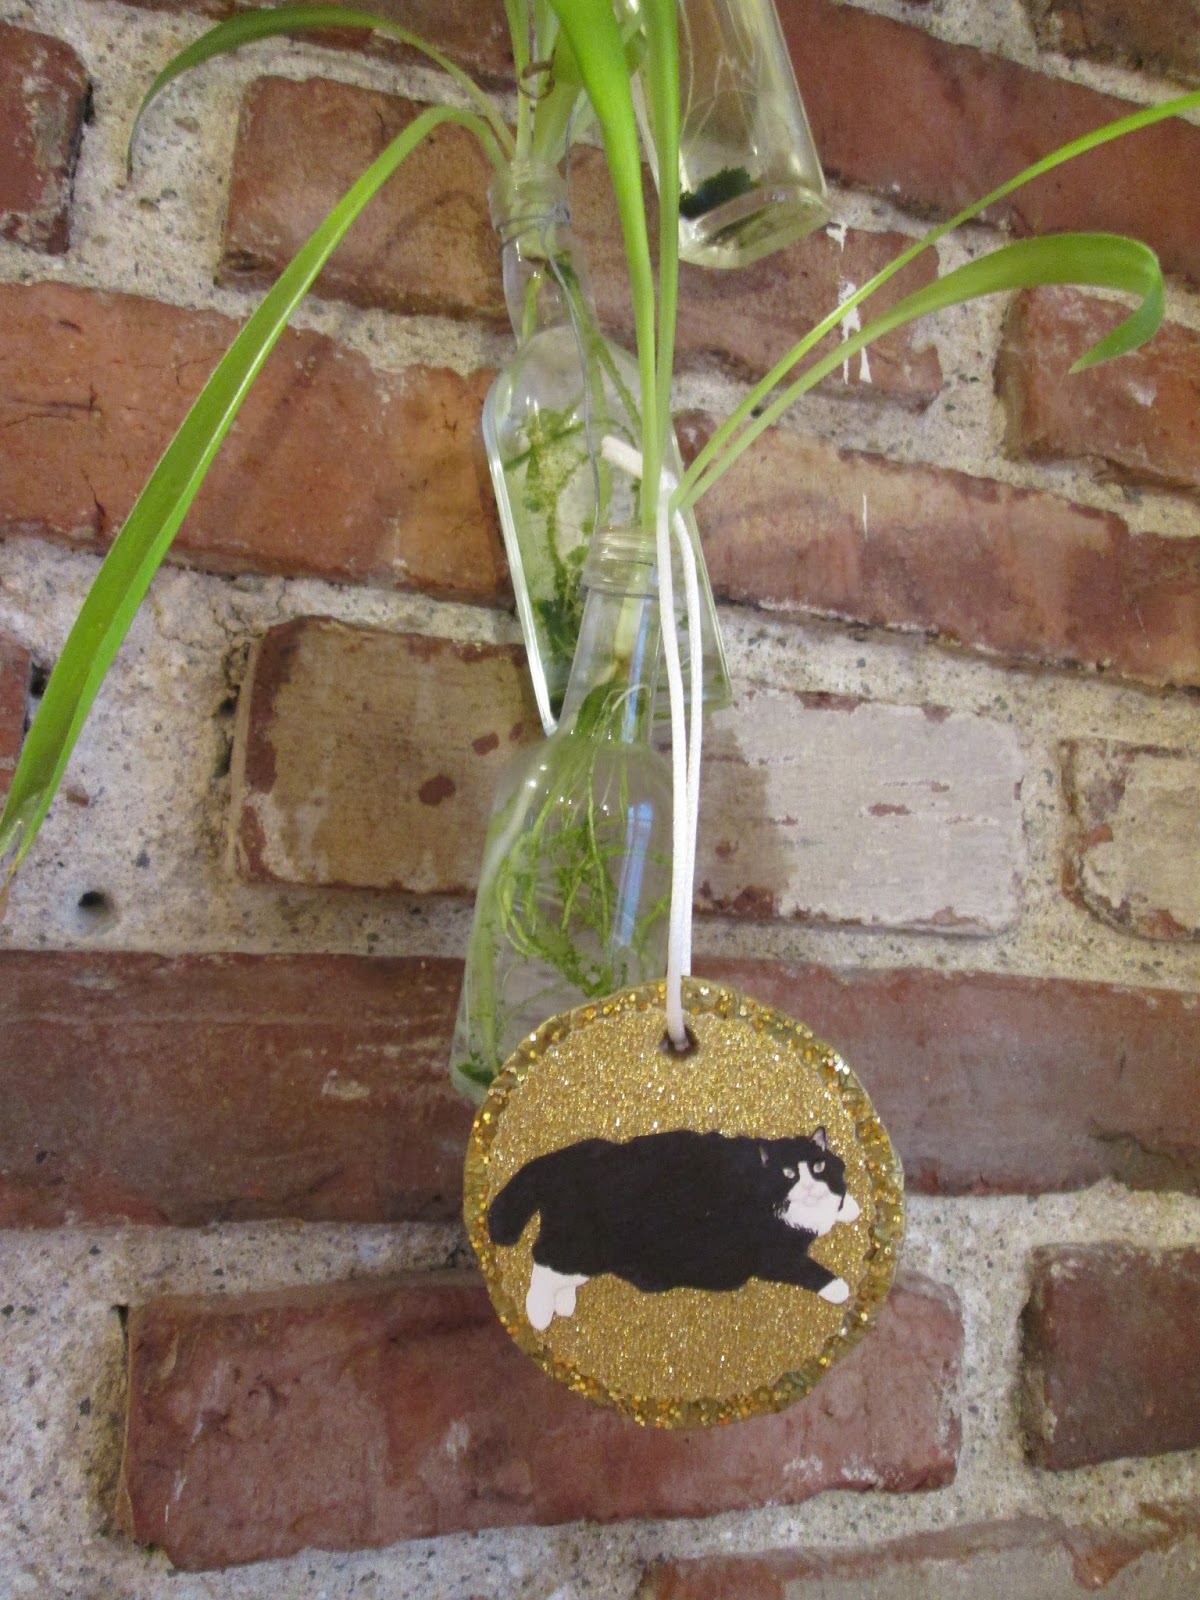
Illustrated Boom Boom the cat glitter holiday ornament

Happy December!

I made this Christmas tree ornament for my friend, with an illustration of her cat Boom Boom. I also used lots of glitter, because why not?

I drew Boom Boom on white card stock, then pasted him onto gold glitter paper which I cut into a circle using zigzag scissors. Then I cut a piece of cardboard into a slightly larger circle, wrapped gold tissue paper around it, which I secured with glue, and gathered the ends of the tissue paper on the front, to be covered by the glitter paper. I also added some extra glitter on top of the tissue paper to give it more sparkle. Then I used a hole punch to make a hold for the ribbon.


It's so cute in a little gift box!

Tuesday, November 15, 2016

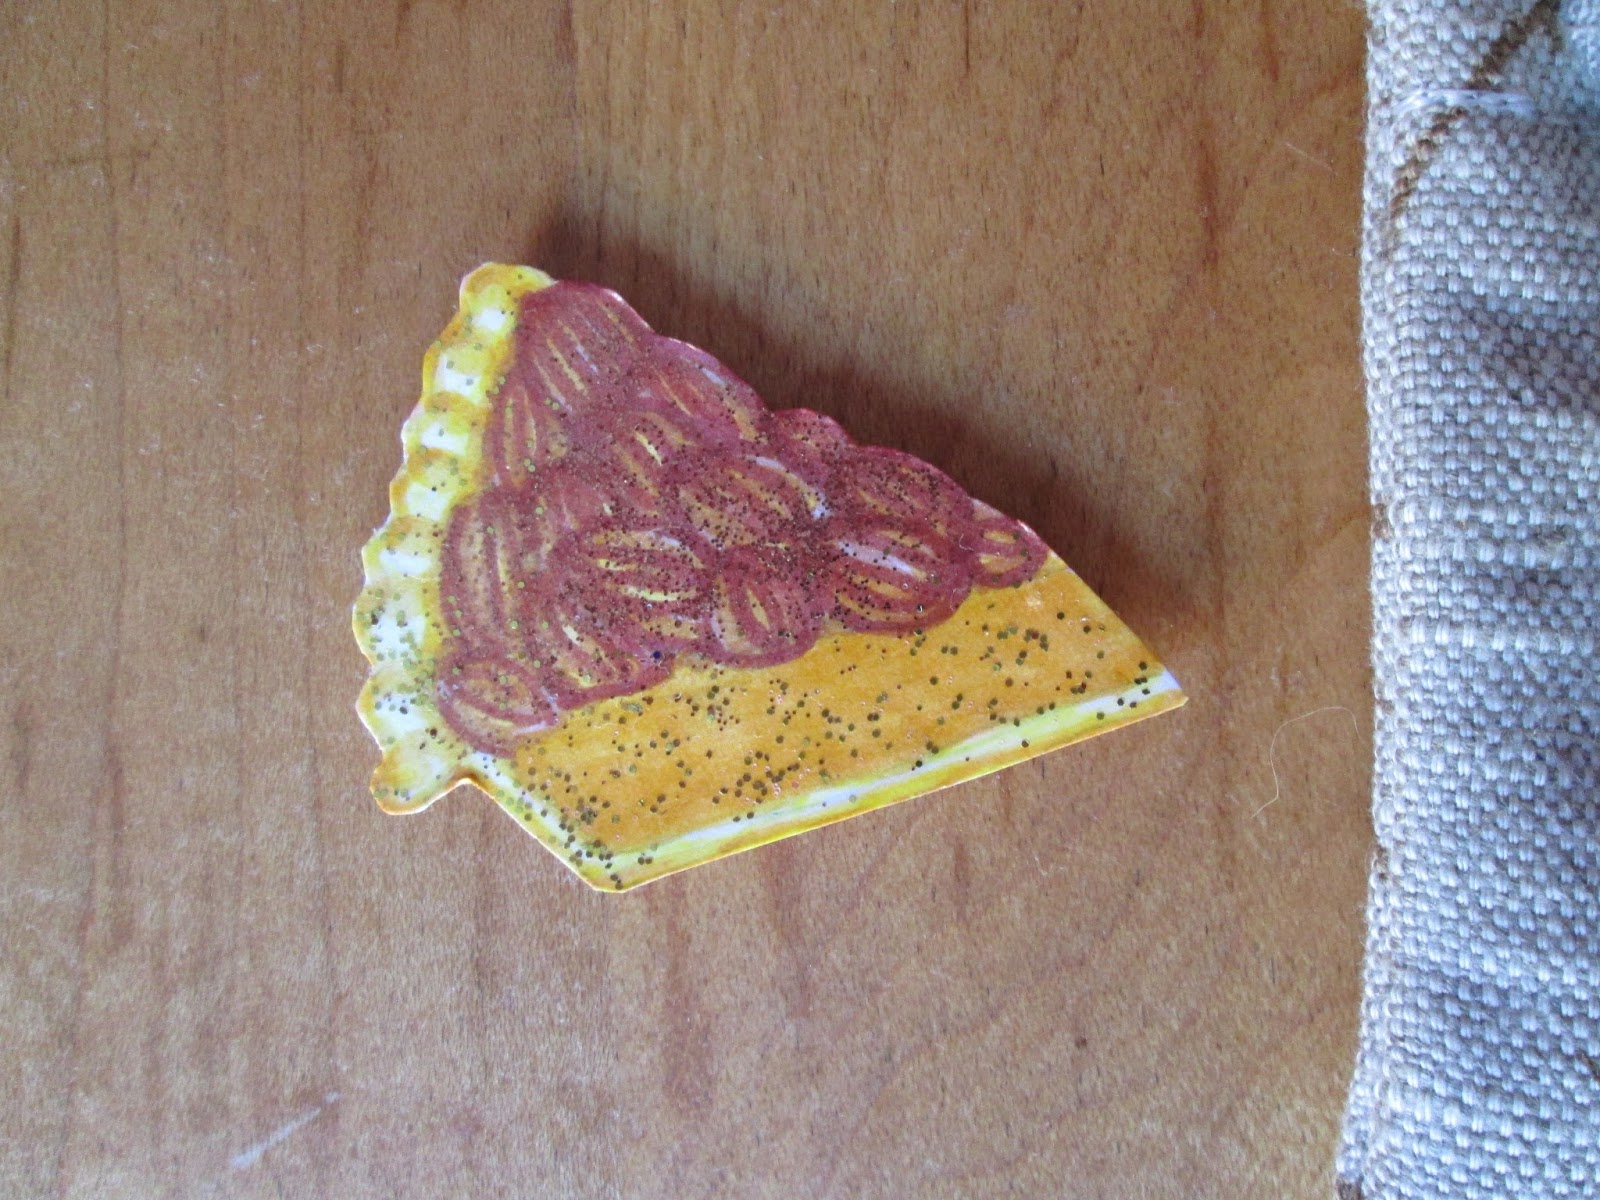
Illustrated pecan pie magnet and fabric bag

I made this glittery magnet for a loved one whose favorite pie is pecan.

I drew the pie on card stock using markers and colored pencils. Then I covered it in a coat of Mod Podge, added a little gold glitter, and stuck a magnet to the back of it (on top of another layer of card stock to keep it firm).


The back of the magnet

I made this little fabric bag to put the magnet in.


Friday, July 8, 2016

Birthday banner with collage and stamps

I've been working on this birthday banner for my best friend Christine for the past couple days, and I finished it last night! It is double sided so it can either be hung in a large doorway/opening, or turned around to the non-birthday specific side and used at any time of year.

It says, "Happy birthday Christine!" in gold sharpie. It is easier to read in real life.

I stamped white card stock with bingo stamps that I got on a recent trip to Florida where I went to bingo night with my aunt. Then I put purple "HAPPY BIRTHDAY" stamps on top of that with a label stamp that can spell out anything. I colored white ribbon gold with a gold sharpie.


The back is collaged with prints, flowers, and hearts.


This was the back of one of the collaged sides, and I tested out a stamp color on it (which I decided would be too dark), but I thought it was a beautiful composition, even though it was unintentional.

Thursday, January 7, 2016

Collage journal gift

I made this journal for my friend for a holiday present.

The front
Open
The binding
The back
Close up

How I made this:


I used half sheets of 8.5" x 11" printer paper that I had left over from making zines (there is an odd number of pages in one of my zines that prints two pages to a sheet, so I am always left with a bunch of blank half sheets). Then I cute a piece of card stock in half so it was the same size, and cut out a bunch of magazine strips that had prints I liked. Then I arranged them all on the card stock so there was no white space left, and used a glue stick to glue them to the card stock. Then I put all the blank pages together with the cover (card stock) page, and stapled it in the middle (it's important to get it pretty much exactly in the middle so it will fold in half correctly) with the long stapler I use for binding zines. That's it!

Thursday, December 24, 2015

Handmade holiday ornaments!

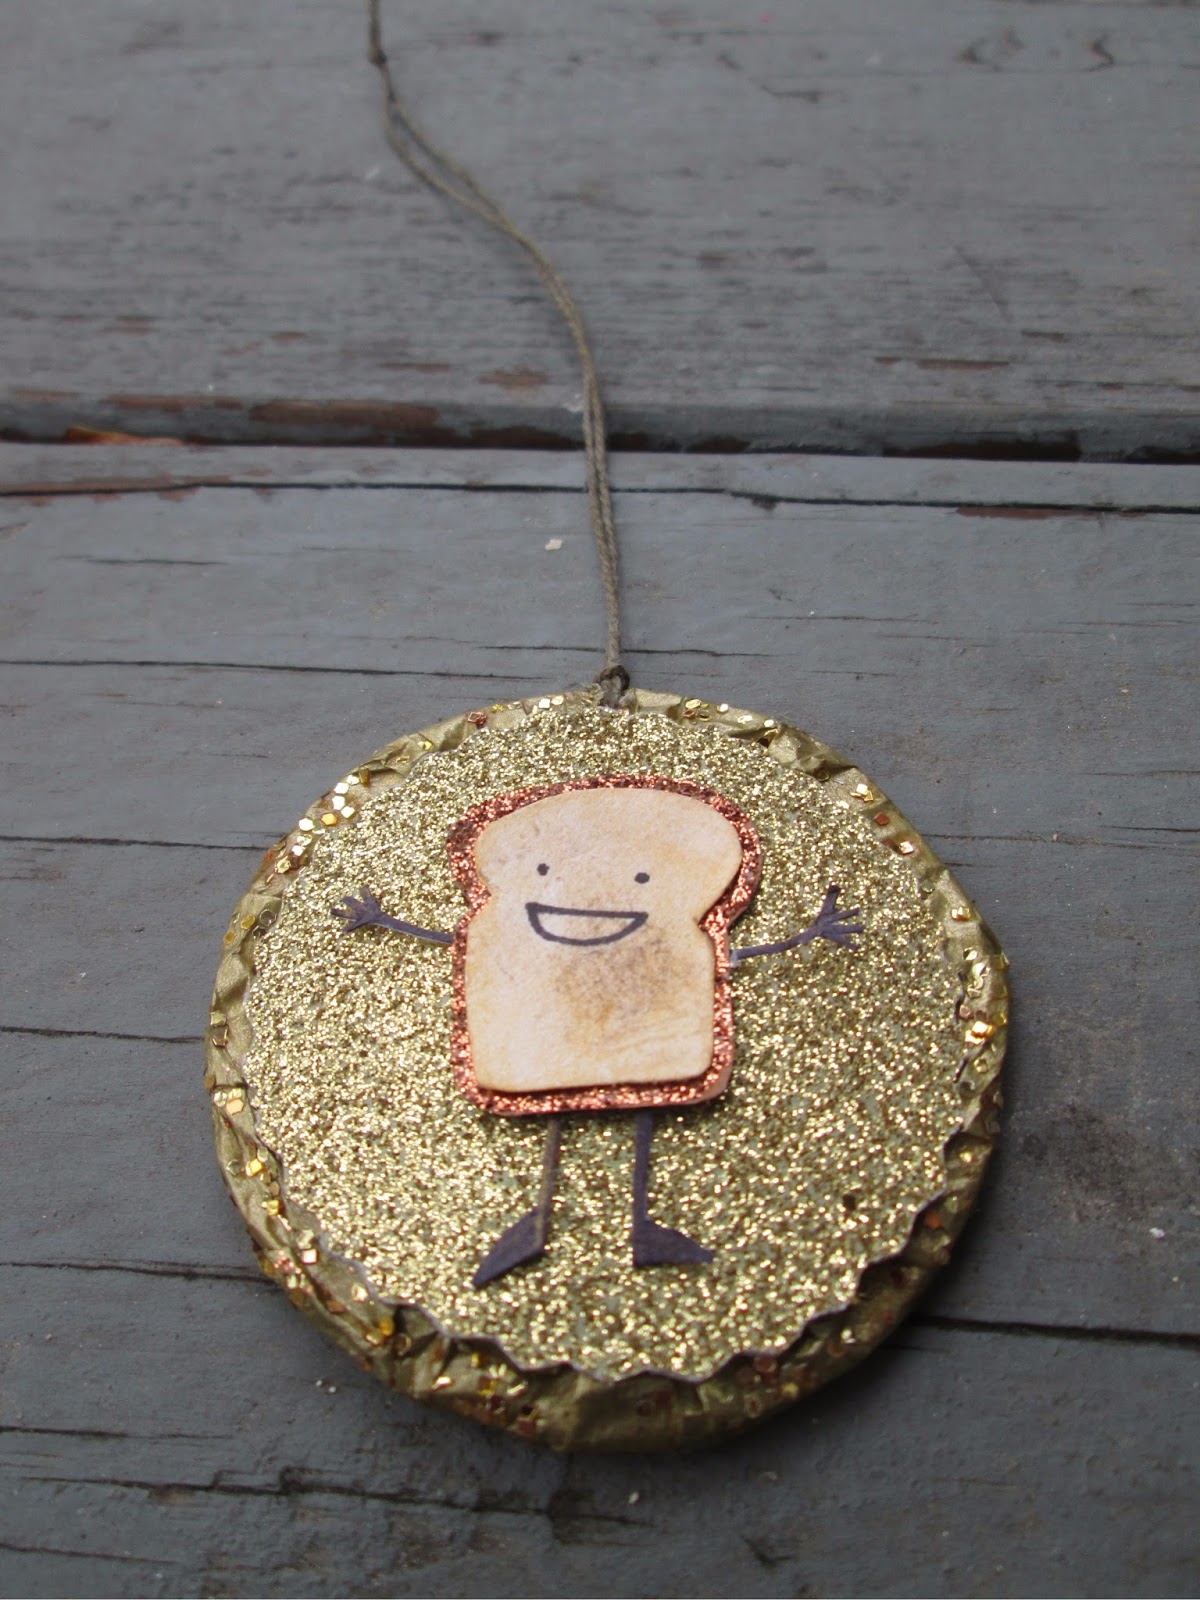
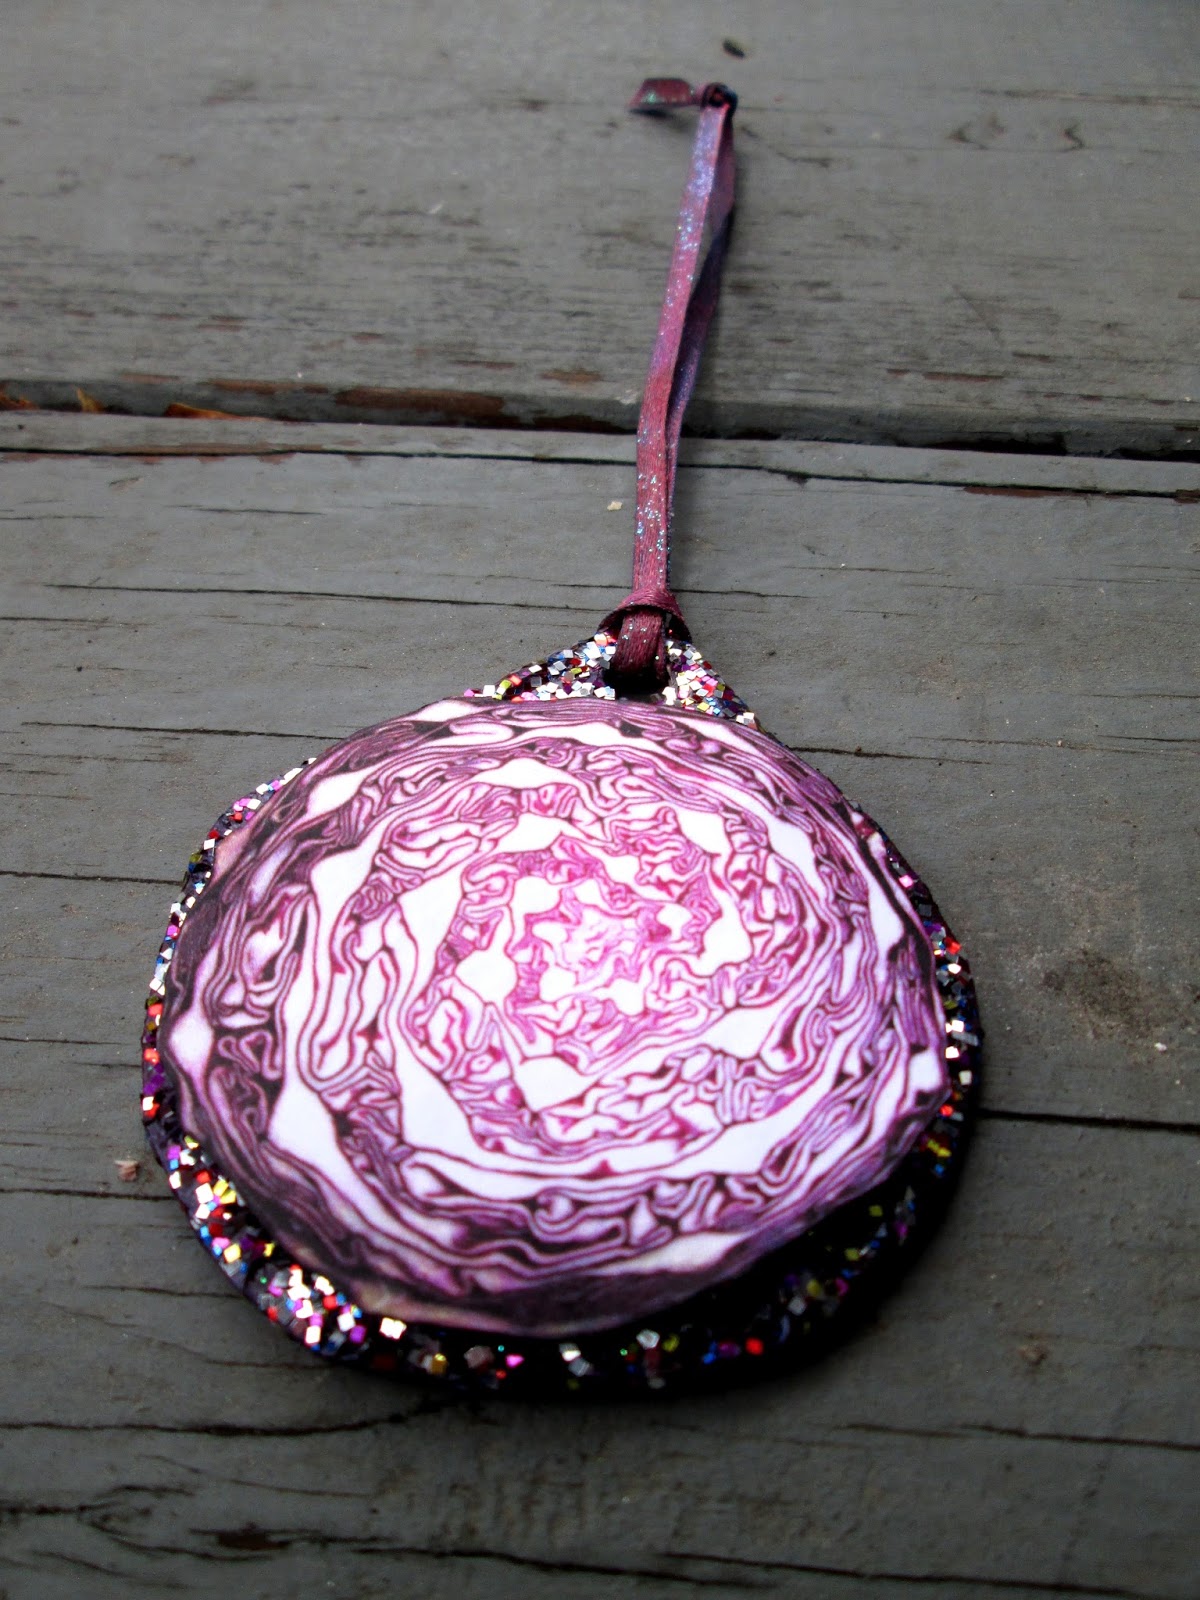
I made holiday ornaments for my roommates, one of whom eats toast at almost every meal, and the other of whom loves the way that the inside of cabbages look. :)


How I made these:


I started with a piece of cardboard, which I cut into a circle, and then covered it in tissue paper (gold tissue paper for the toast one, and white tissue paper that I colored purple with markers). Then I added glitter to the tissue paper using mod podge.

For the cabbage one, I printed out a picture of a cabbage and glued it to card stock (a recycled post card advertisement) so it wouldn't bend or wrinkle. Then I used mod podge to glue the cabbage to the ornament base. Then I took some light pink fabric ribbon and colored it purple using markers, and added some glitter using mod podge. Then I let everything dry, and looped the ribbon through a hole I made in the ornament using a hole punch.

For the toast one, I cut out a circle of gold glitter paper using one of those zig zag shaped scissors. Then I cut a piece of white card stock into the toast shape and drew a face on using a sharpie pen. Then I colored it tan by rubbing dirt from the garden on it, and added a little bit of very watery yellow watercolor paint to get the color I wanted. Then I traced it and cut a slightly bigger toast shape out of card stock, colored that brown with a marker, and added some bronze glitter to it using a glue pen. Then I drew the arms and legs on card stock using a sharpie pen, cut them out, and attached them to the back of the brown toast piece using both glue and tape so they are less likely to fall off. Then I glued all of the pieces together. Then I took a piece of thin white rope and colored it gold using a gold sharpie. Then after everything dried, I made a small hole in the ornament behind the glitter paper using scissors (since this ribbon was smaller than the other, I didn't want there to be a big gaping hole in the ornament), and looped the ribbon through.

Happy holidays!